Install the GitPOAP Github bot
Installing on your Project
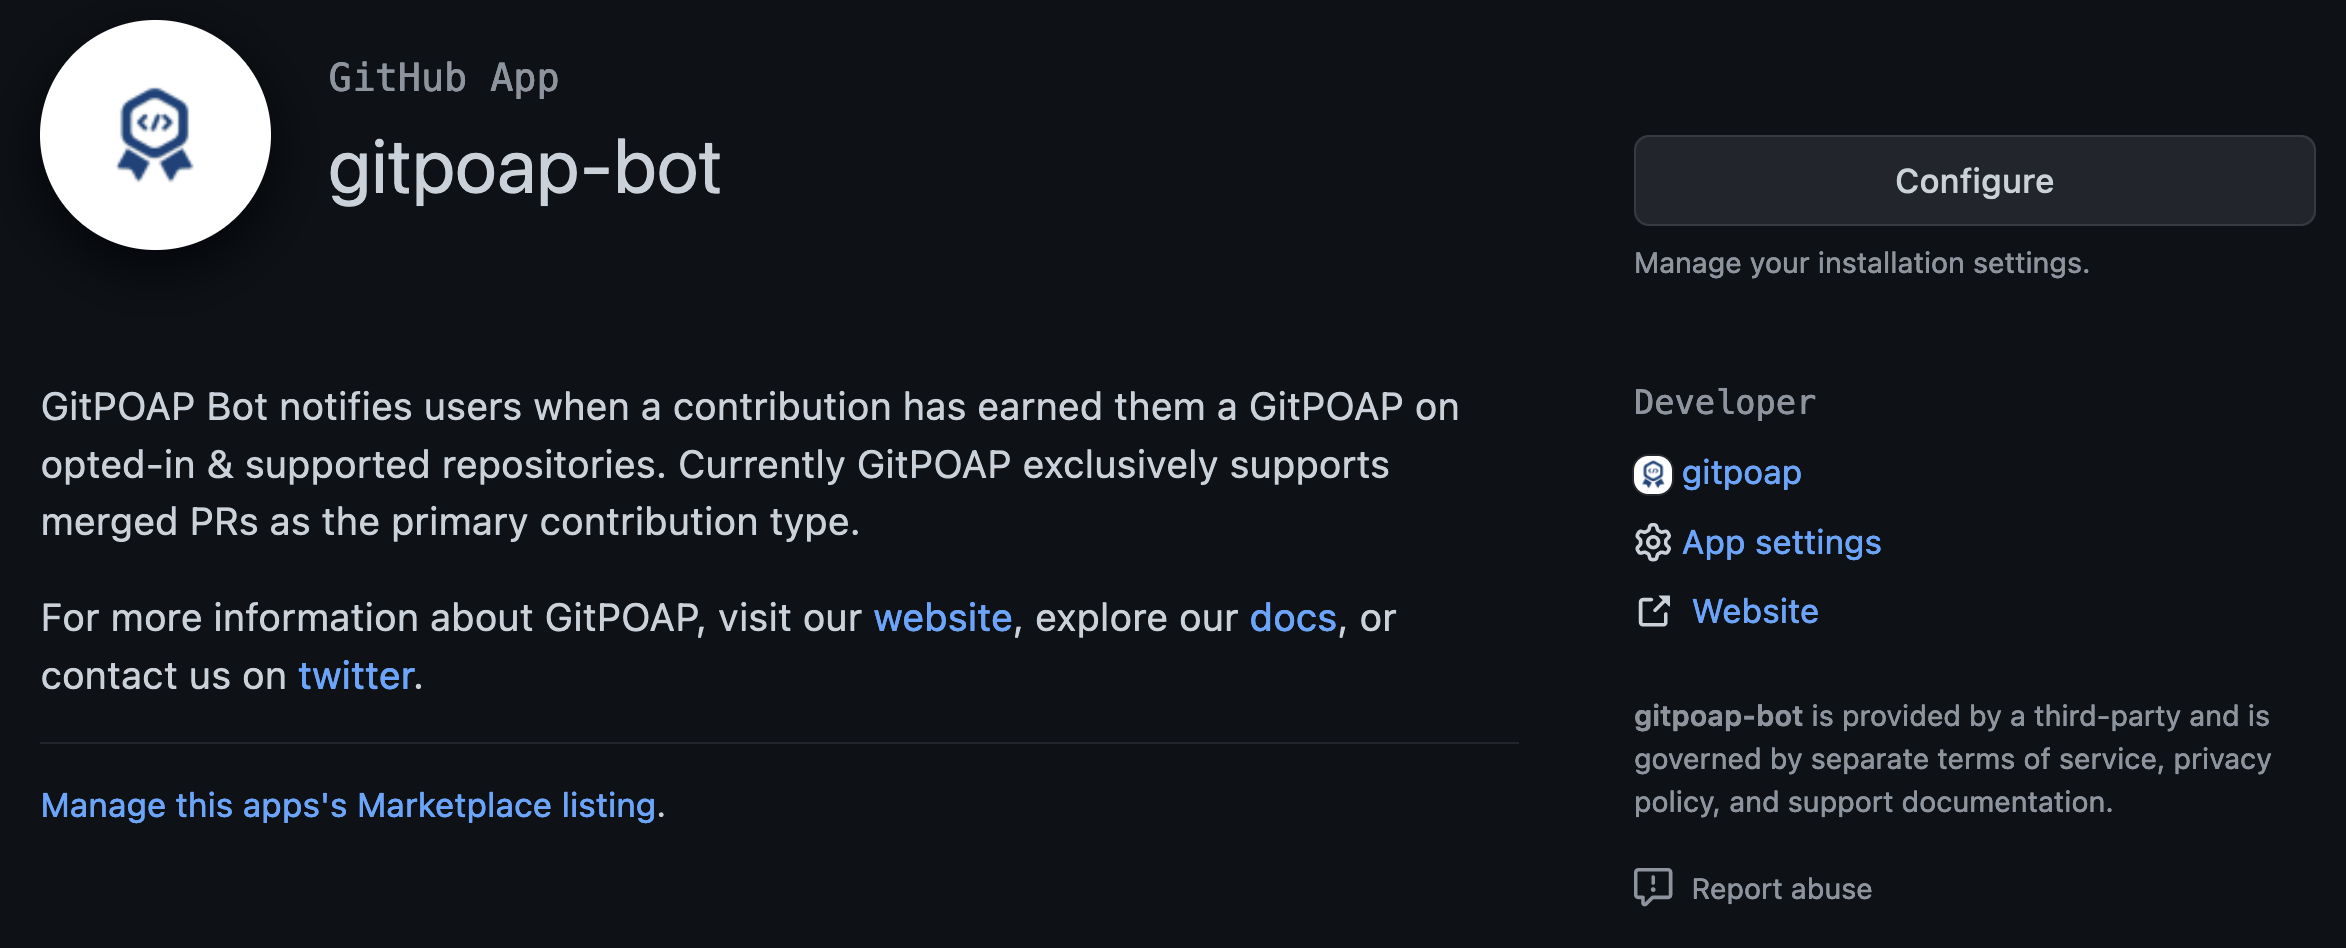
If you'd like gitpoap-bot to start notifying your contributors when they've received a GitPOAP for their contribution, first navigate to the GitHub App page for the gitpoap-bot. On the top right you should see a configure button:
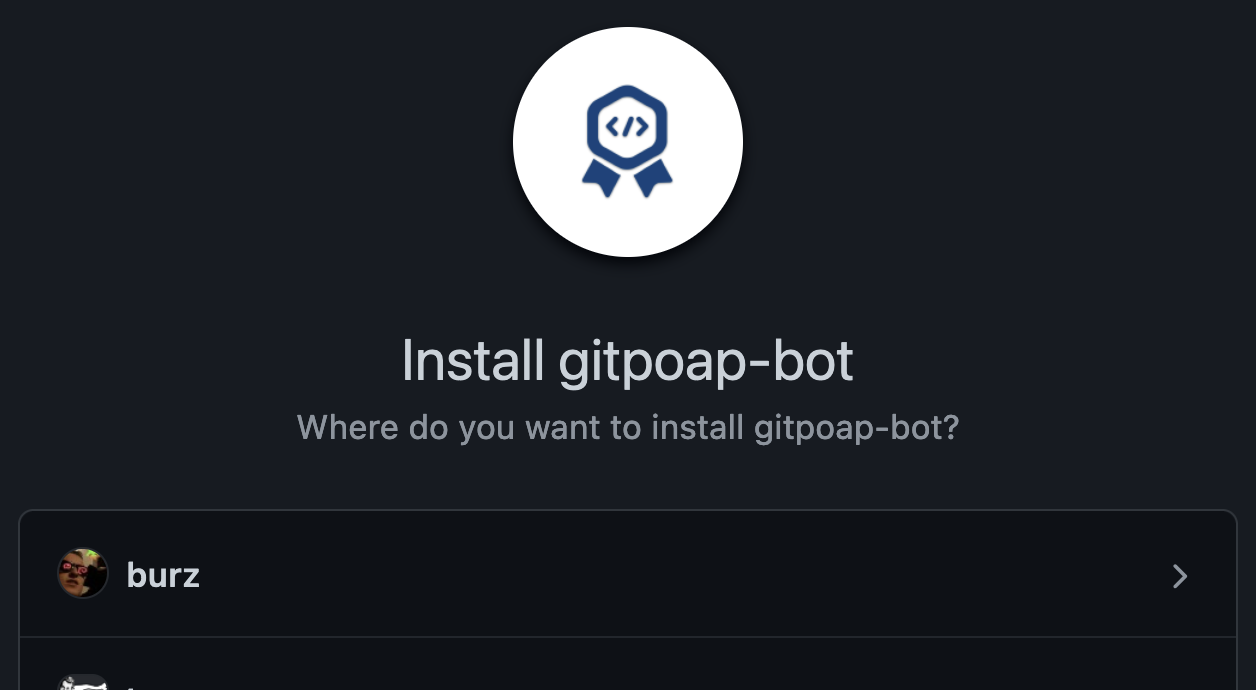
Click on this link and then click on the organization you'd like to add the bot to:
You will be taken to an installation configuration page for your GitHub Organization. From here, you should scroll down to the "Repository Access" section, click on the "Only select repositories" option, select any repos that have GitPOAPs associated with them, and then hit "Save" underneath. As an example, we at GitPOAP have created a GitPOAP for the repository for this documentation:

And that's it! Now gitpoap-bot will start notifying users when their merged PRs have earned them new GitPOAPs.
Enabling GitPOAP notifications
GitPOAP notifications are enabled by default once the bot is installed, so there is nothing additional you need to do. If you'd like them to be disabled you can either uninstall the bot or reach out to our team on our discord and we can disable it so you can still use the tagging functionality.
Tagging contributors
Gitpoap-bot also has the capability to issue GitPOAPs to contributors by tagging them in a
comment. When both @gitpoap-bot and one or more contributors' handles are tagged within a comment
on a PR or Issue, a new GitPOAP claim will be issued to these users if they don't have one already.
For example, to issue a new GitPOAP to a GitHub user via a PR or Issue, add a comment with @gitpoap-bot tagged like so:
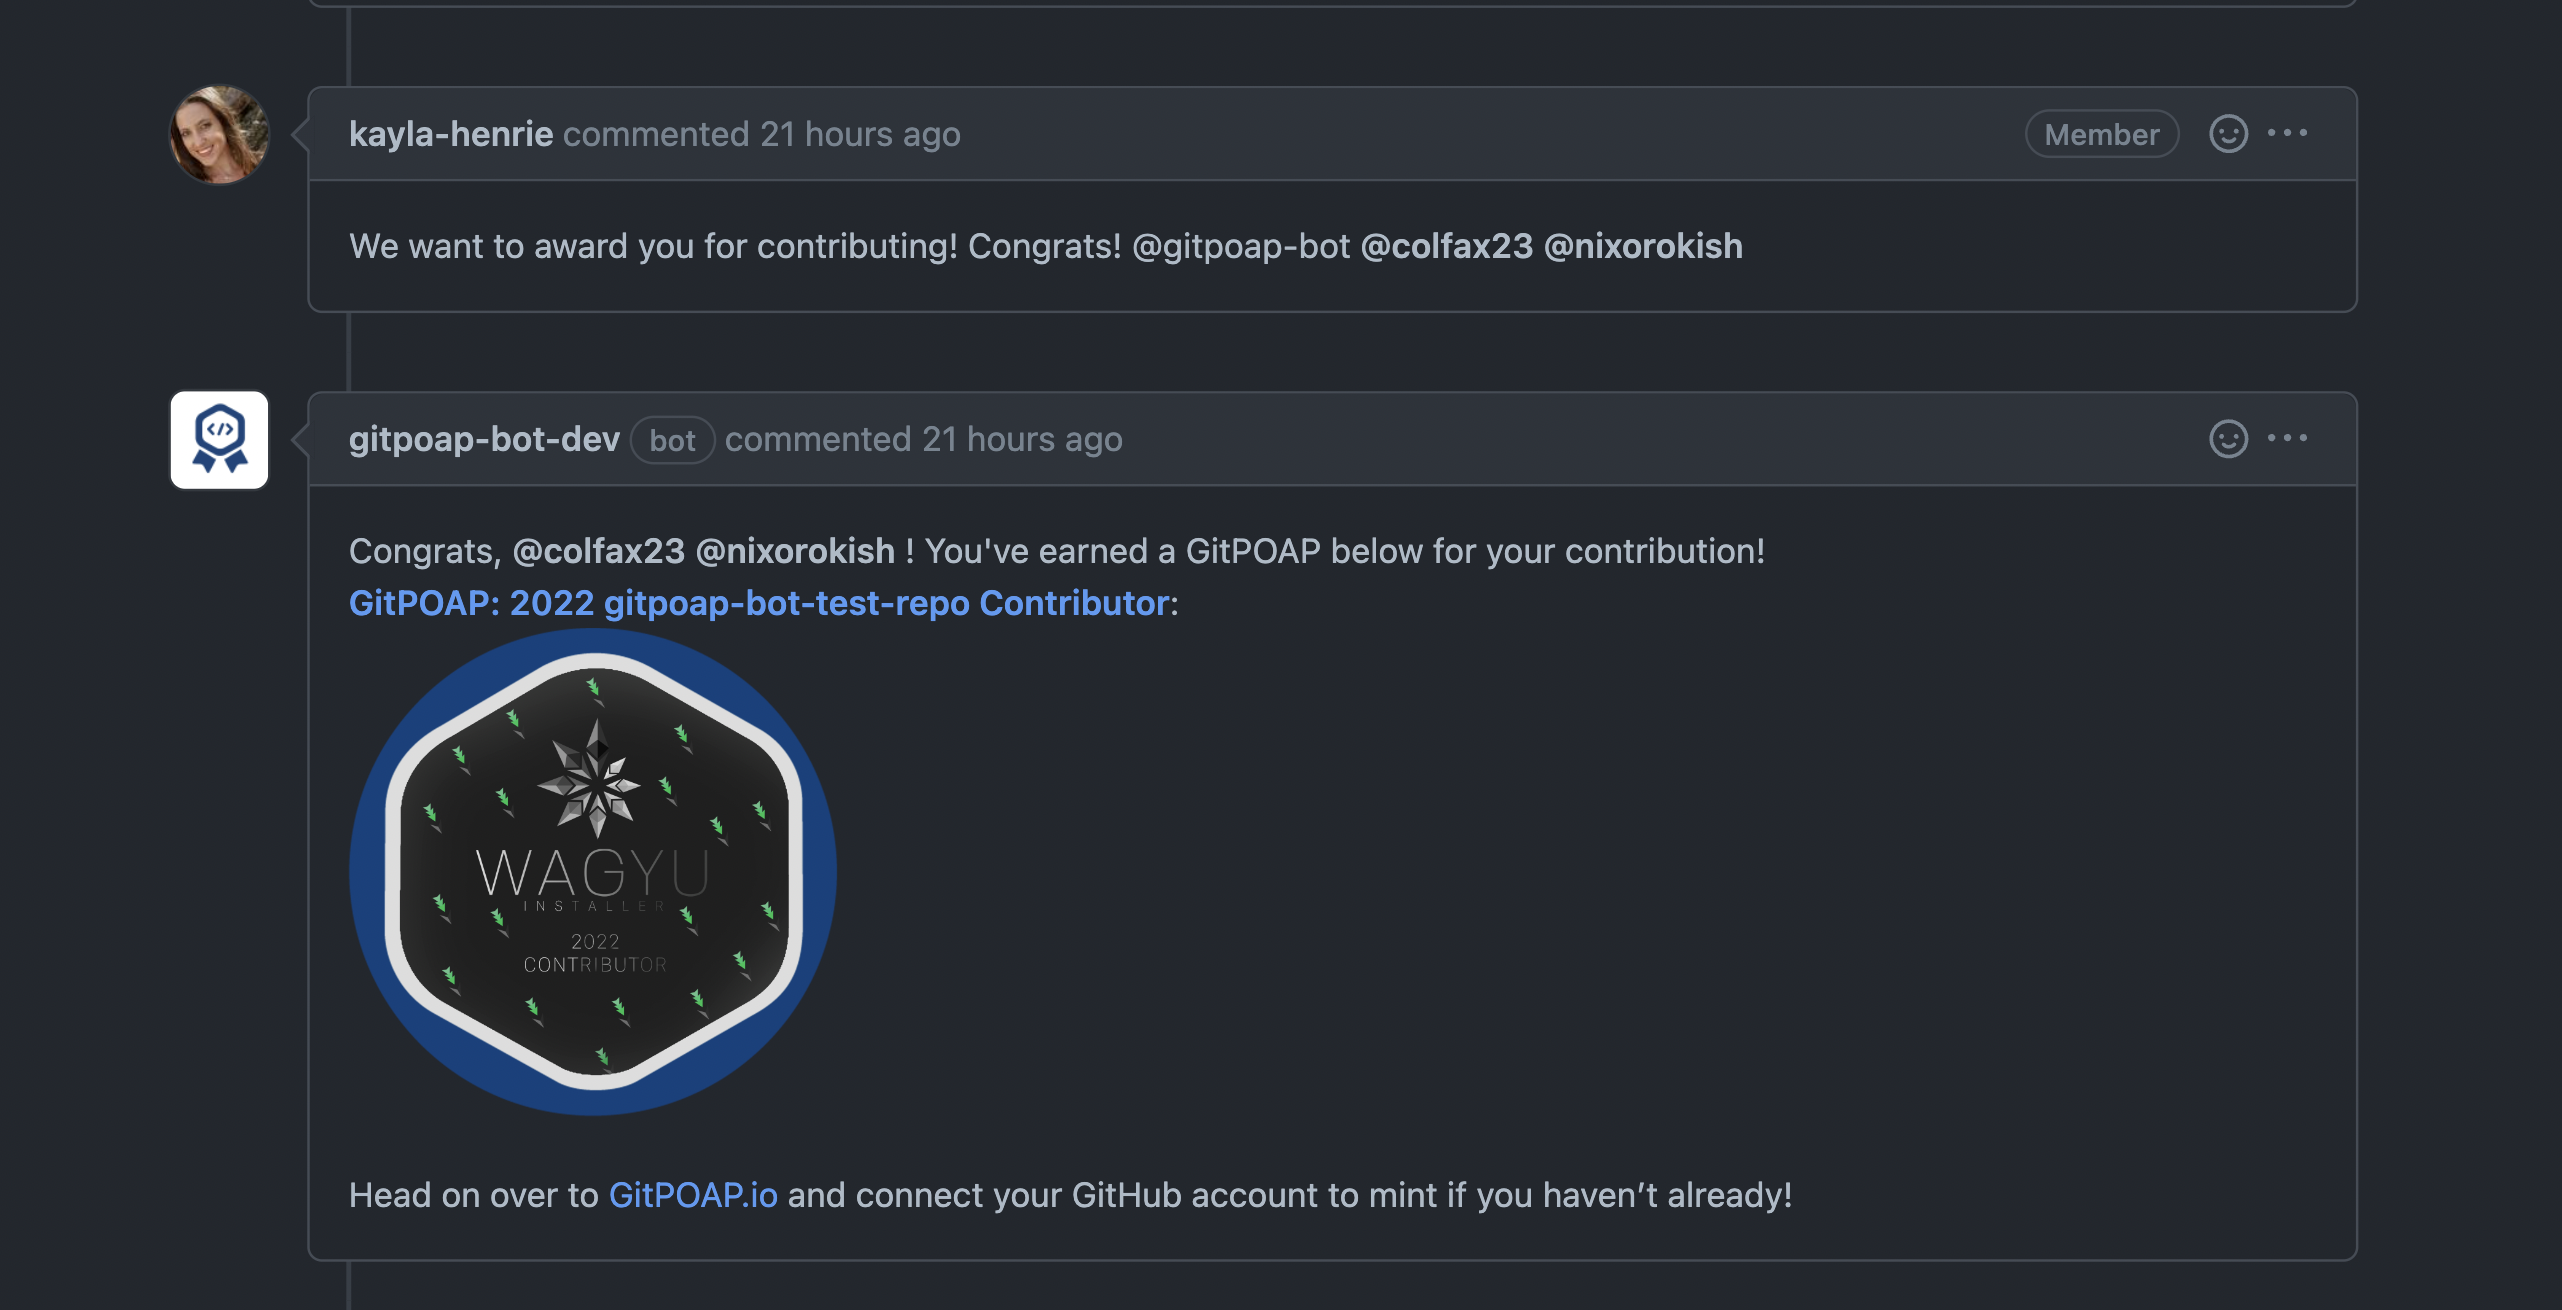
Note: @gitpoap-bot can appear anywhere in the comment, & the names of contributors do NOT have
to directly follow @gitpoap-bot.